Timesheet entries
This document will go over the main methods of creating Timesheet Entries which can the be used to generate Timesheets in CreataCRM.
Creating timesheet entries
There are a few different ways to create timesheet entries in CreataCRM.
Time clock system
CreataCRM's time clock system allows a user to clock in and clock out to keep track of their work time.
To use this system, click on the Clock icon in the top right of the navigation bar.

The side panel will appear on the right.
To start timing, click on the "Clock On" button.
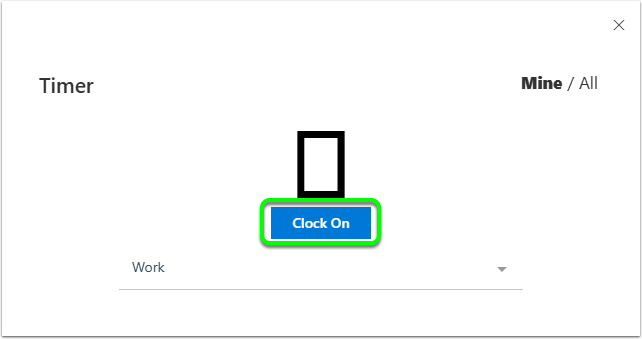
Once you've clicked on the "Clock On" button, the timer will start.
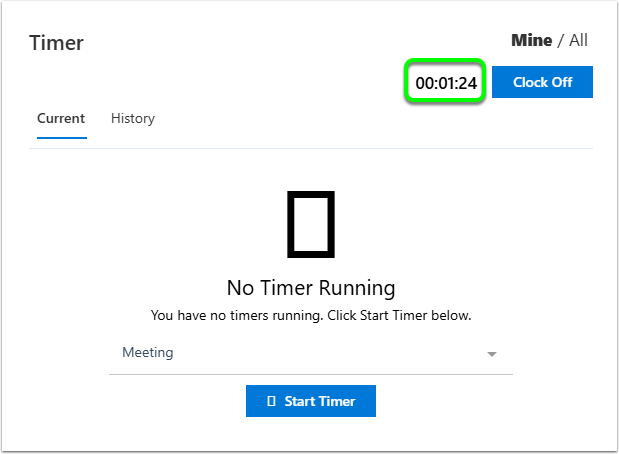
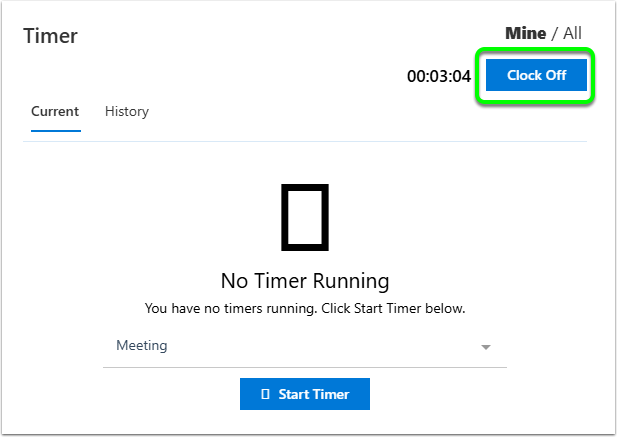
Once the time is up, click on the Clock Off button.
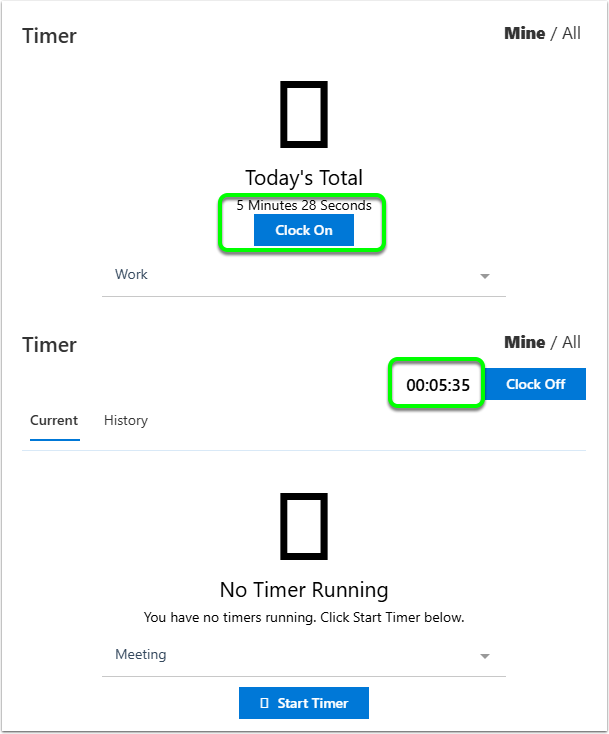
The view will switch back to the original one, with some extra information about the time for today. This time is the total time that the clock was running for the current day; restarting the timer will start ticking up from this point.
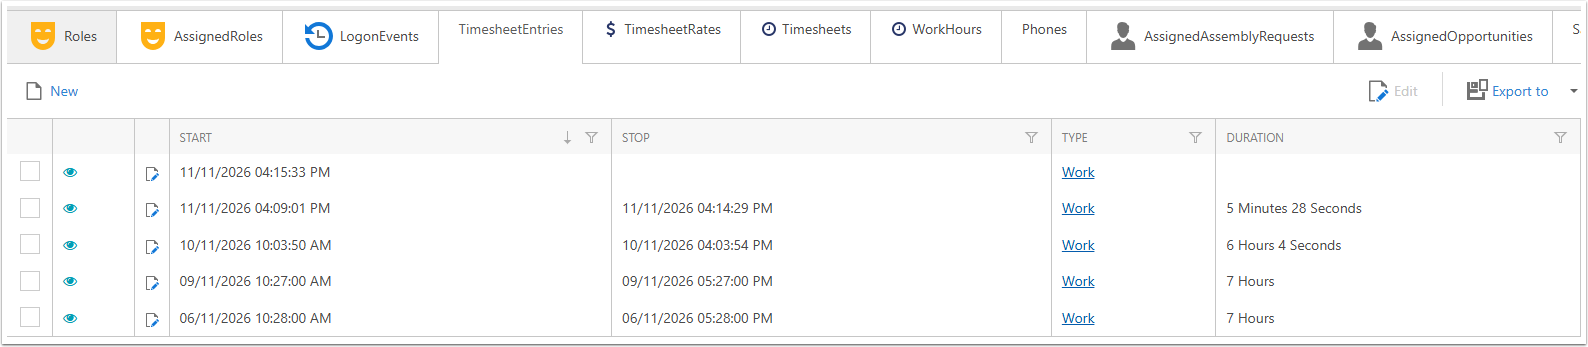
Clocking on and off creates timesheet entries for the user who click the button. You can view these entries on the User record, in the Timesheet Entries tab near the bottom.
- Entries with no Stop time are still counting in the Clock On/Off window.
Mobile app
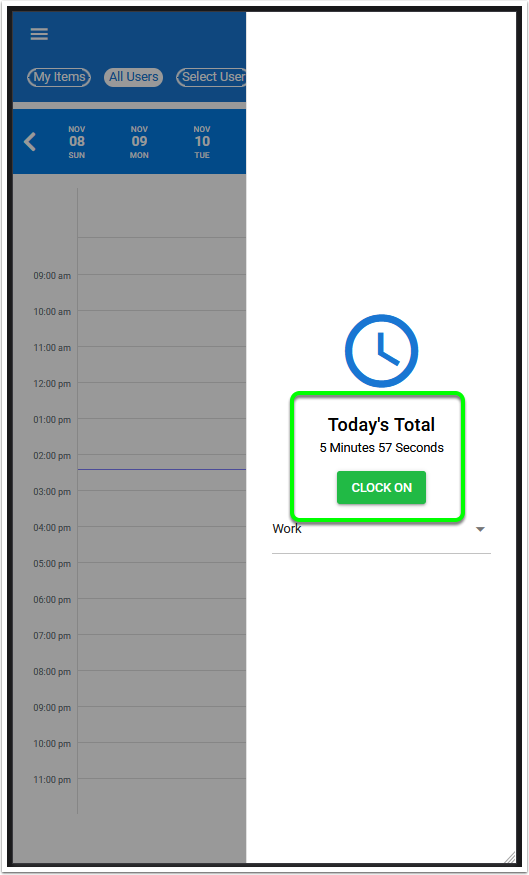
The mobile app's time clock system is very similar to the main site's sustem. At the top right of the screen, there is a Clock icon.
(These screenshots were taken on PC using Firefox's phone display; the actual screen may be a little different on your device)
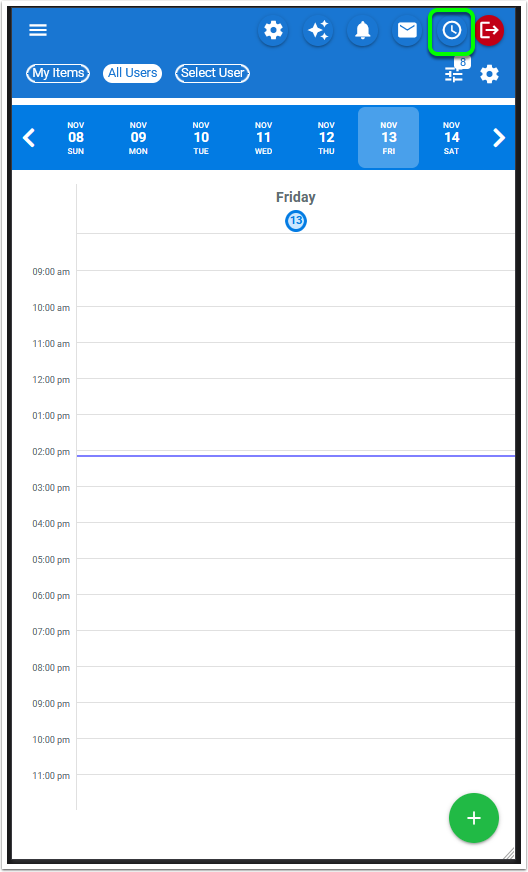
This shows the Clock on/off window, and can be used similarly to the one on the main site. Click the Clock On button to start the timer
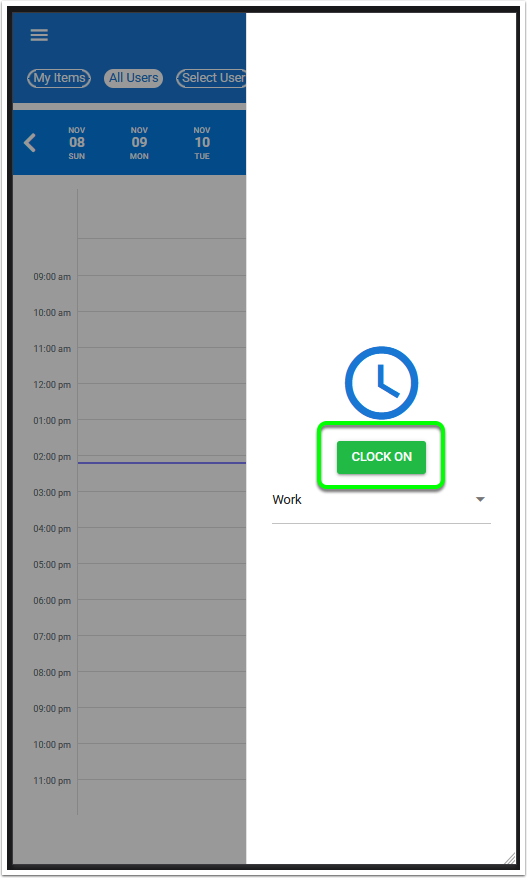
and click Clock Off to stop the timer.
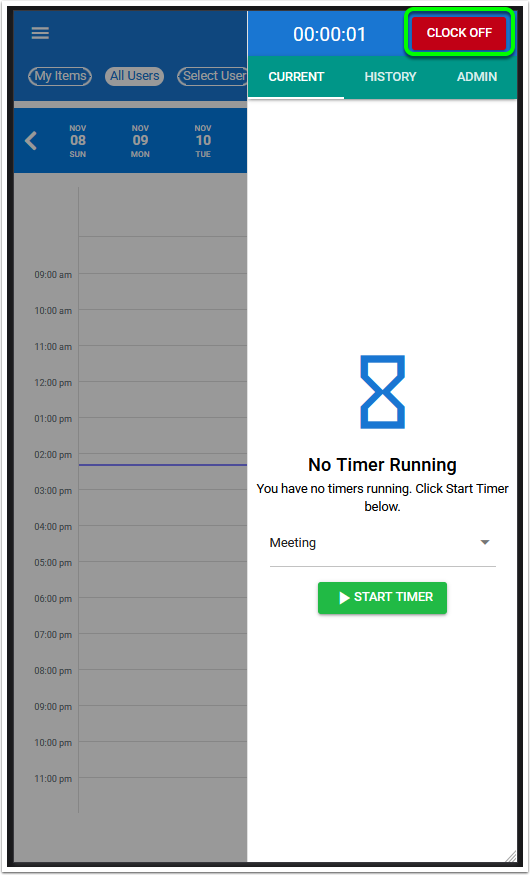
The current day's total time is shown in the view after you've clocked on and off at least once.
Calendar
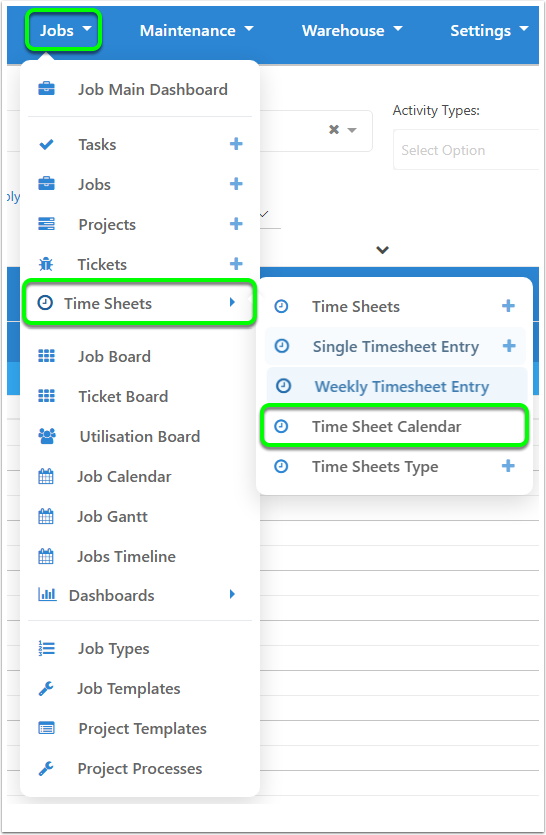
You can create Timesheet Entries as an item that will appear on the calendar. Navigate to the Timesheet Calendar by clicking on the "Jobs" menu at the top, then under the "Time Sheets" menu, select "Time Sheet Calendar".
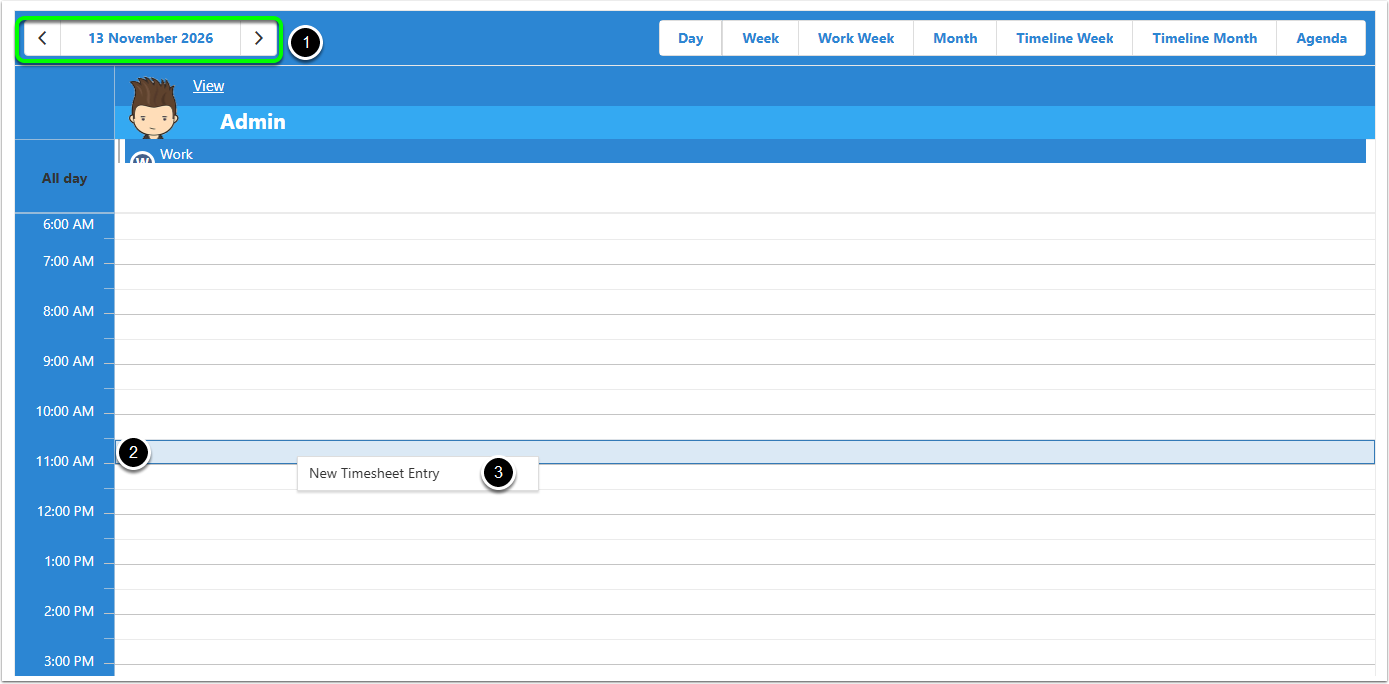
This displays the calendar view, filtered to show only Time Sheets. You can change the filters by checking the boxes above the calendar; this article focuses specific on Time Sheets so will not be changing those settings.
To create a Timehseet, use the top controls to navigate to the day you're creating the timesheet for, select any of the cells in the calendar by clicking on it, the right-click and select "New Timesheet". You can click and drag to select multiple cells.
If you have multiple users visible in the calendar, ensure you've selected the cells under the correct user.
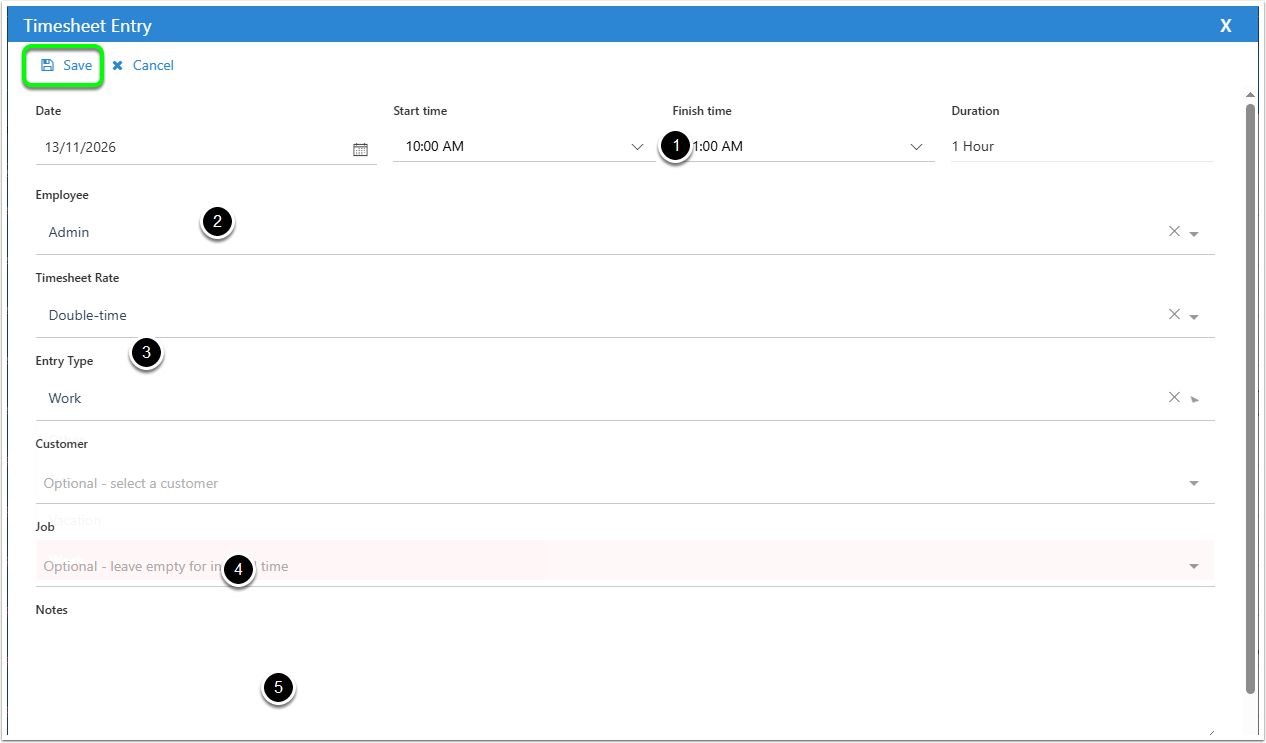
- Select the Start and End times for the timesheet entry.
- Moving the End date increases the duration.
- Moving the Start date moves the End date to keep the same duration.
- Ensure you've selected the correct user for this timesheet entry.
- Pick a Timesheet Rate and a Timesheet Entry Type
- If you need to, you can link a Customer or a Job as well. Neither of these is a required field.
- Notes about this timesheet entry, if you need to make any.
Once you've entered all of the data, click the Save button at the top.
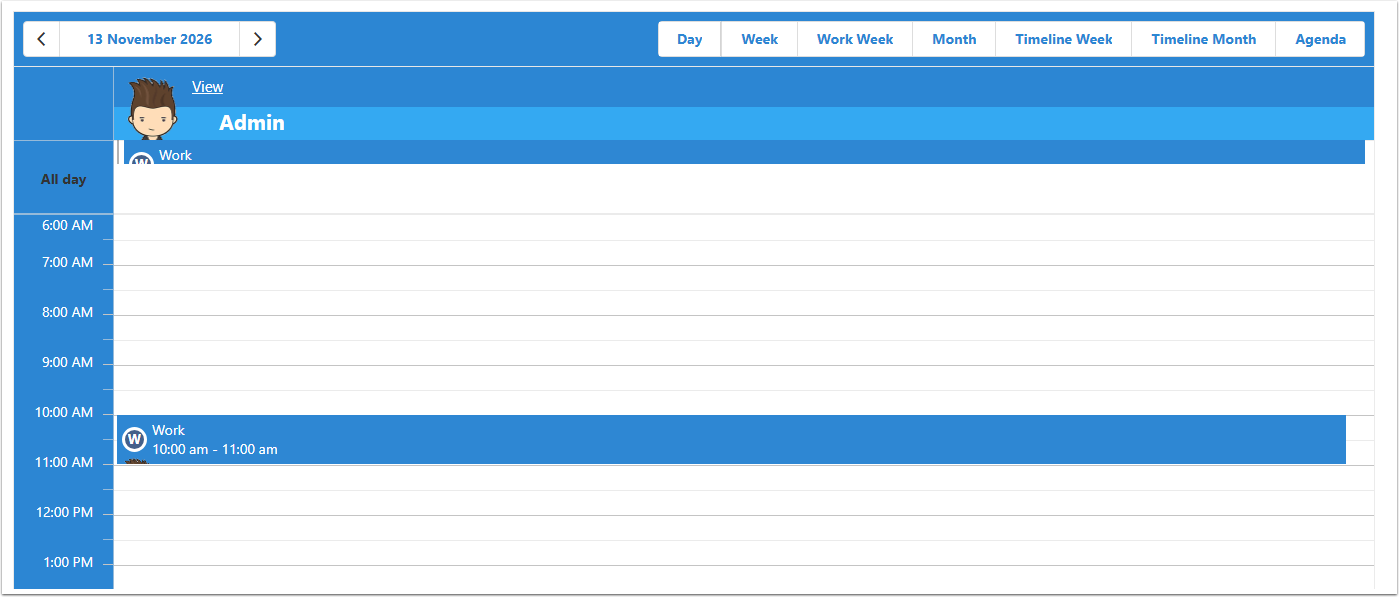
The new timesheet entry shows up on the calendar automatically.
Weekly timesheets
The final option is manual creating on the timesheet view itself.
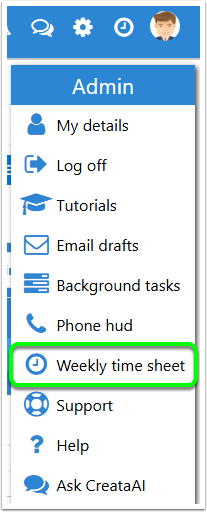
Go to the weekly timesheet in the User menu in the top right.
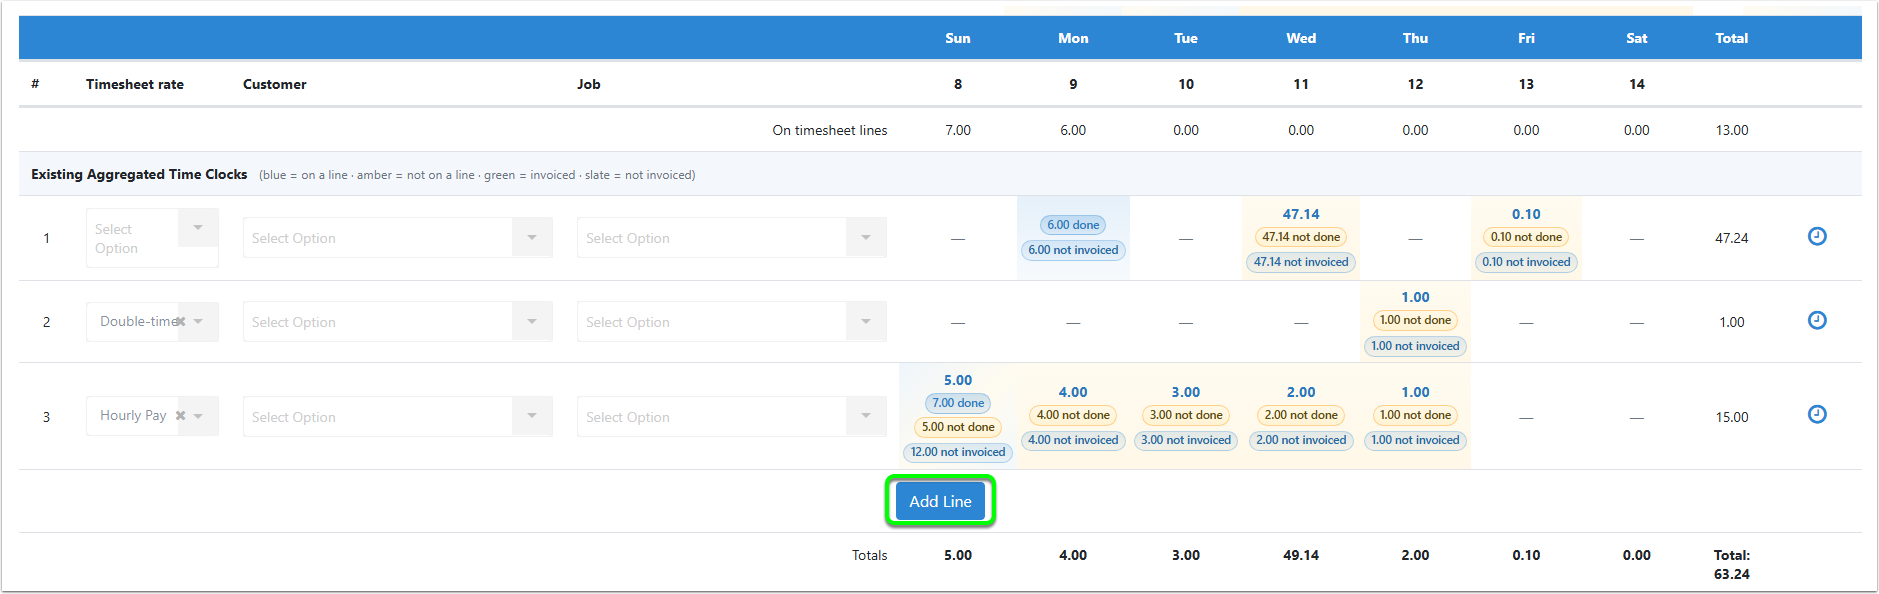
This will show the Timesheet data for the current week. You may see data already in the timesheet if you've created previously or via other methods.
To add a new line, click on the Add Line button at the bottom of the Timesheet Lines.
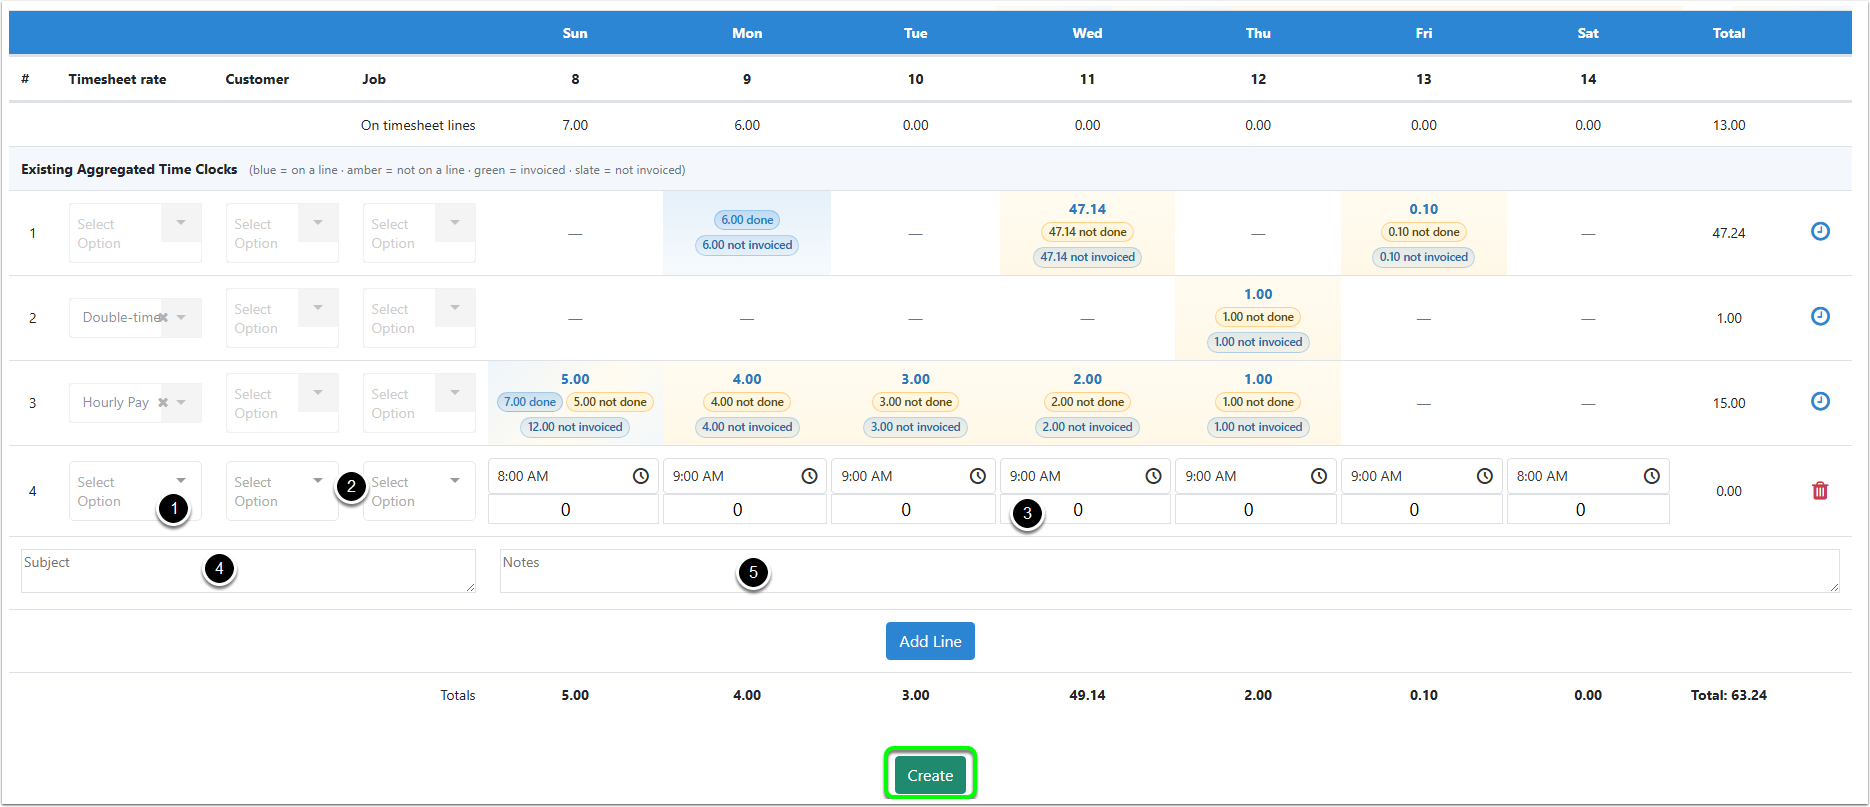
This will add an editable line at the bottom of the lines list. You can use the Trash icon on the right to cancel the line edit which will remove the line without saving anything.
- Select the Timesheet Rate for this item.
- You can link a Customer or a Job if you like - these are both optional.
- Enter the times here.
- Ensure you're entering the times on the correct date - the Day of week and Date of month are both at the top of the list.
- The Time input show the time that the Timesheet Entry will Start at, This can be different for each day if needed. The default value is based on you Work Hours.
- The Number is the time, in Hours, that the Timesheet Entry should last. The End time is calculated from the Start time plus these hours.
- You can enter decimals in the hours input - for a Timesheet Entry with a duration of 6 hours and 45 minutes, enter 6.75
- (Optional) Enter a Subject - this will appear on the Calendar, and any Invoices that use Timesheet Entries as a source of information.
- (Optional) Notes - any other information relating to these Timesheet Entries.
When you want to create the entry, click on "Create" at the bottom.
When creating the lines, the system will check the other lines on this Timesheet to see if there are any that have the same combination of Timesheet Rate, Customer and Job (even if these last two are blank). If this combination exists, your new lines will be created, and their time will be added to the time for the existing lines.
In this example, I've added 4 hours on Friday and 3 hours on Saturday to a line where the Timesheet Rate is Hourly Pay and Customer and Job are both empty.
Once I click "Create"...

the time is added to the already existing timesheet line for Hourly Pay.
